
VidFomo
Loading...

Seedream 5.5 Image Generator

Mode
0/5000
Aspect Ratio
Resolution
Output format
Advanced Settings (Optional)
Background
Required Credits
4

Sample Images

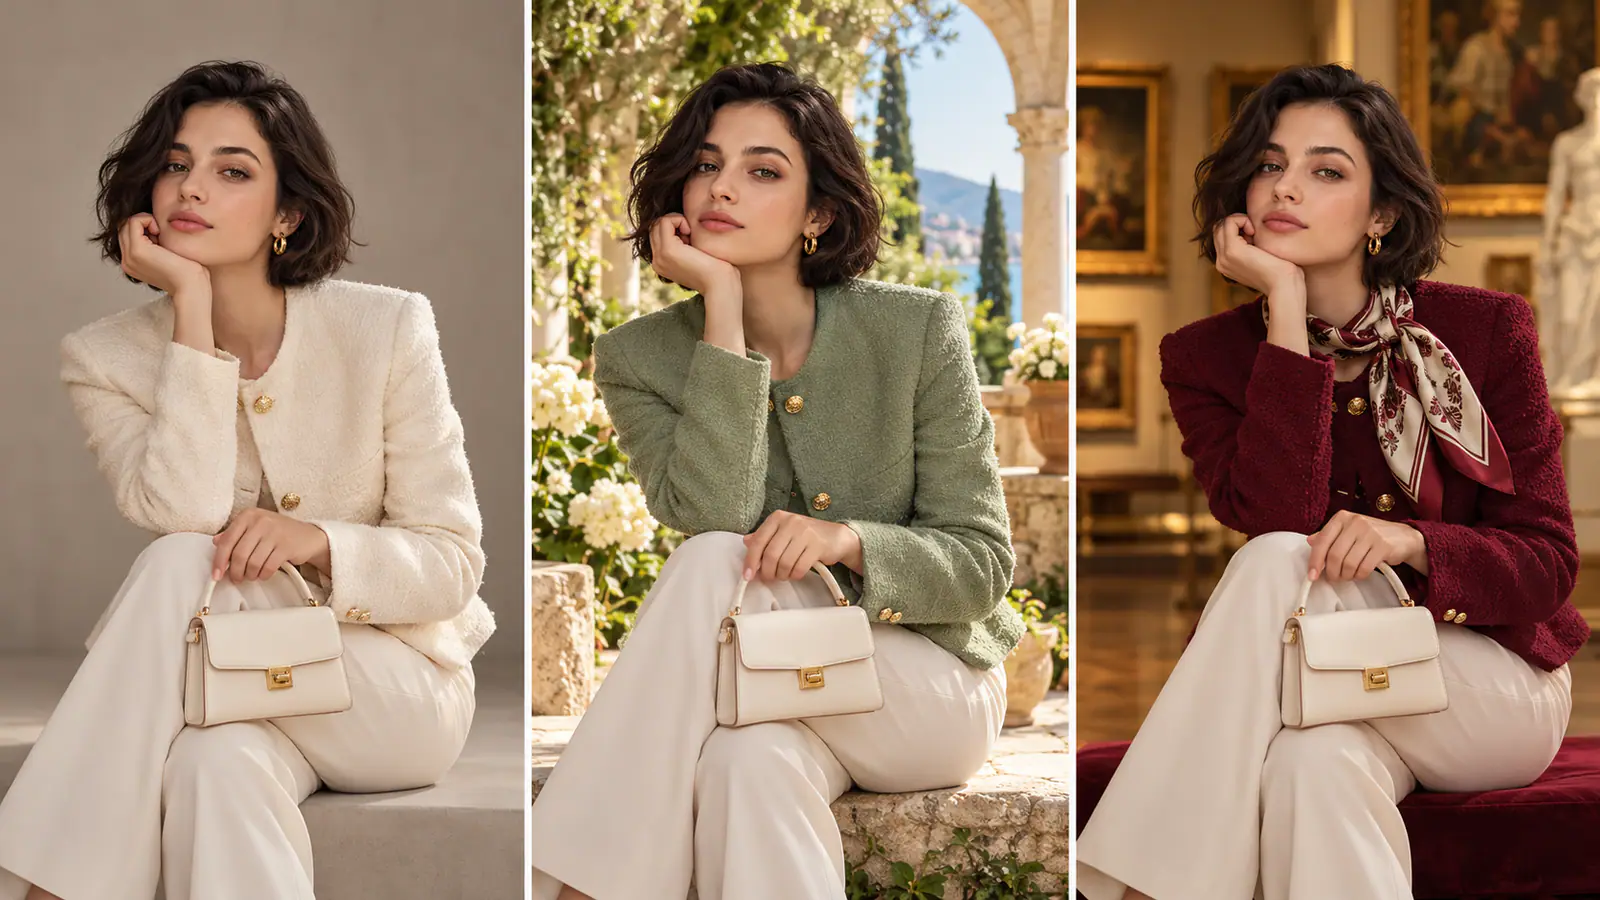
Editing concept triptych of the same woman with different backgrounds, jacket colors and a scarf

Seedream 5.5 for Product Photo Editing

Start with a product photo you already approve. Describe the new backdrop or lighting and name the details to preserve, such as the bottle shape, label, and finish. Generate one change at a time so you can compare each version with the source photo.

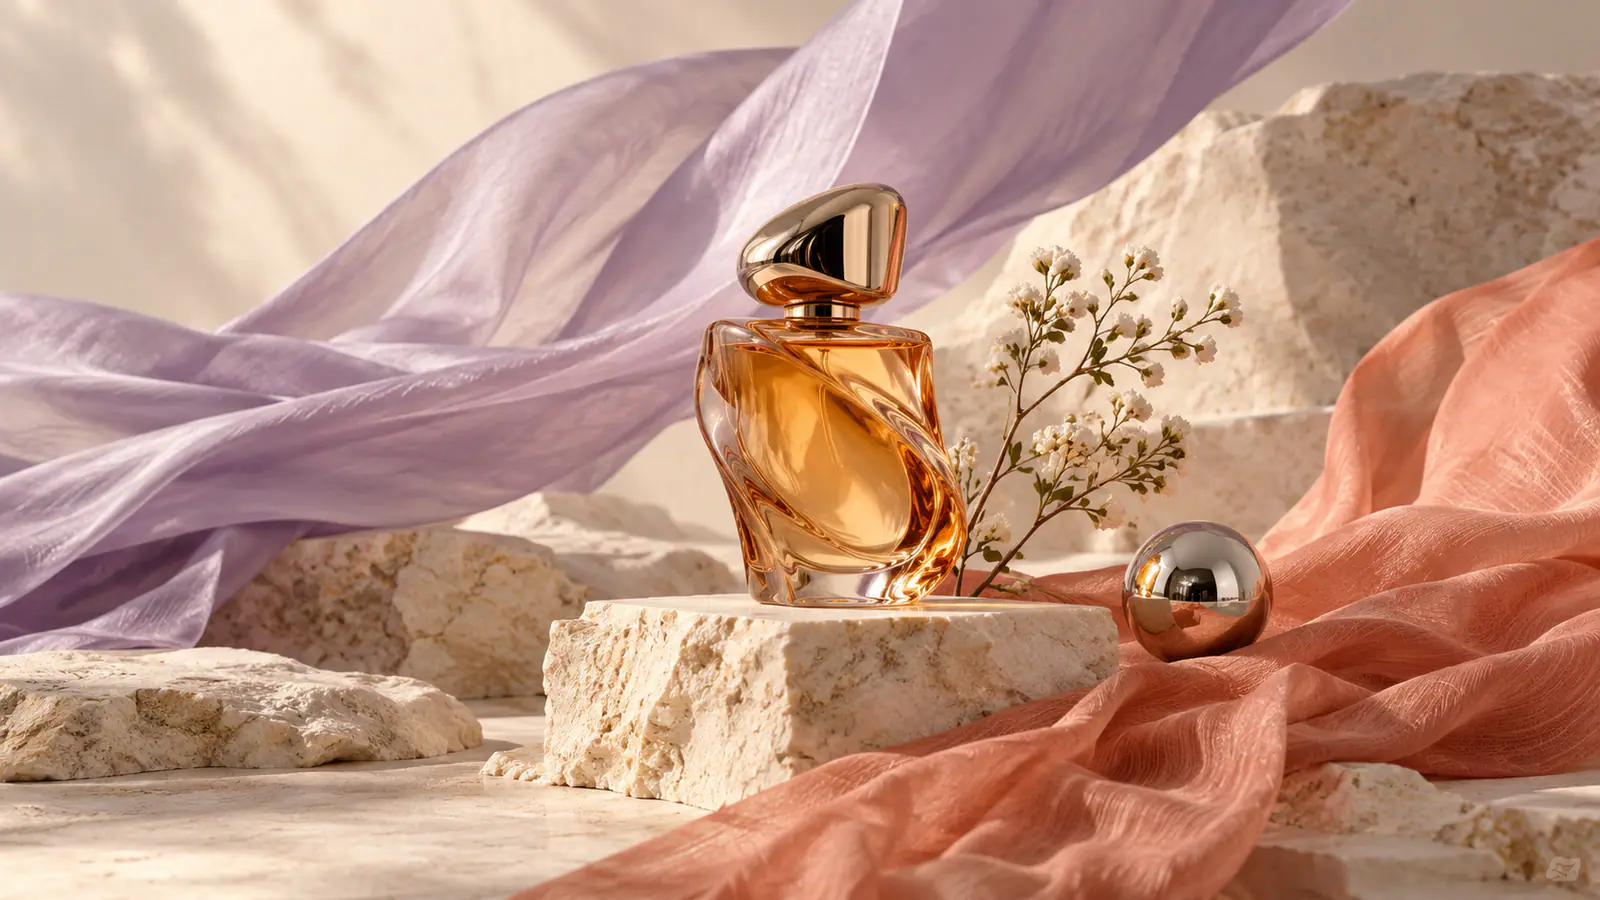
Concept artwork of an amber perfume bottle with lilac fabric and pale stone

How to Brief a Product Photo Edit

Choose a reference, define one change, and record the checks that will tell you whether the variation is ready.

  1. Start with the approved product photo

    Choose Image to Image and add a photo from your device. Start with the view that shows the parts the customer uses to recognize the product. For a perfume bottle, look for a clear silhouette, readable label, and visible cap. Use the same source photo for each brief so you can judge changes against a consistent baseline. Write down which features must match and which parts of the scene can change. If you only have an idea for the shot, Text to Image is available for preparing a new composition brief.

  2. Describe one change and what to preserve

    Name the part of the scene you want to revise and the result you have in mind. For example, replace the white backdrop with pale stone and soft lilac fabric. Keep the bottle shape, cap, label, and camera angle. If you also want to test a different light, write that as a separate variation. Describe surfaces and colors using visible details, such as a matte stone counter or warm light from a window. A specific instruction makes it easier to tell whether the revision actually addressed the brief.

  3. Set the checks before comparing versions

    Choose the aspect ratio for the intended listing, banner, or social placement. Make a short checklist for the change you asked for and the product details you want to keep. For a bottle, check its outline, the exact wording on the label, the cap shape, and the reflection on the glass. Mark the intended use on each variation. When you have images to compare, look at the full composition for the setting and crop, then zoom in to check details against the original.

Plan Product Photo Variations from One Reference

Use the same product photo to plan different settings, light treatments, and color options. Give each version one clear purpose.

Place the same product in a new setting

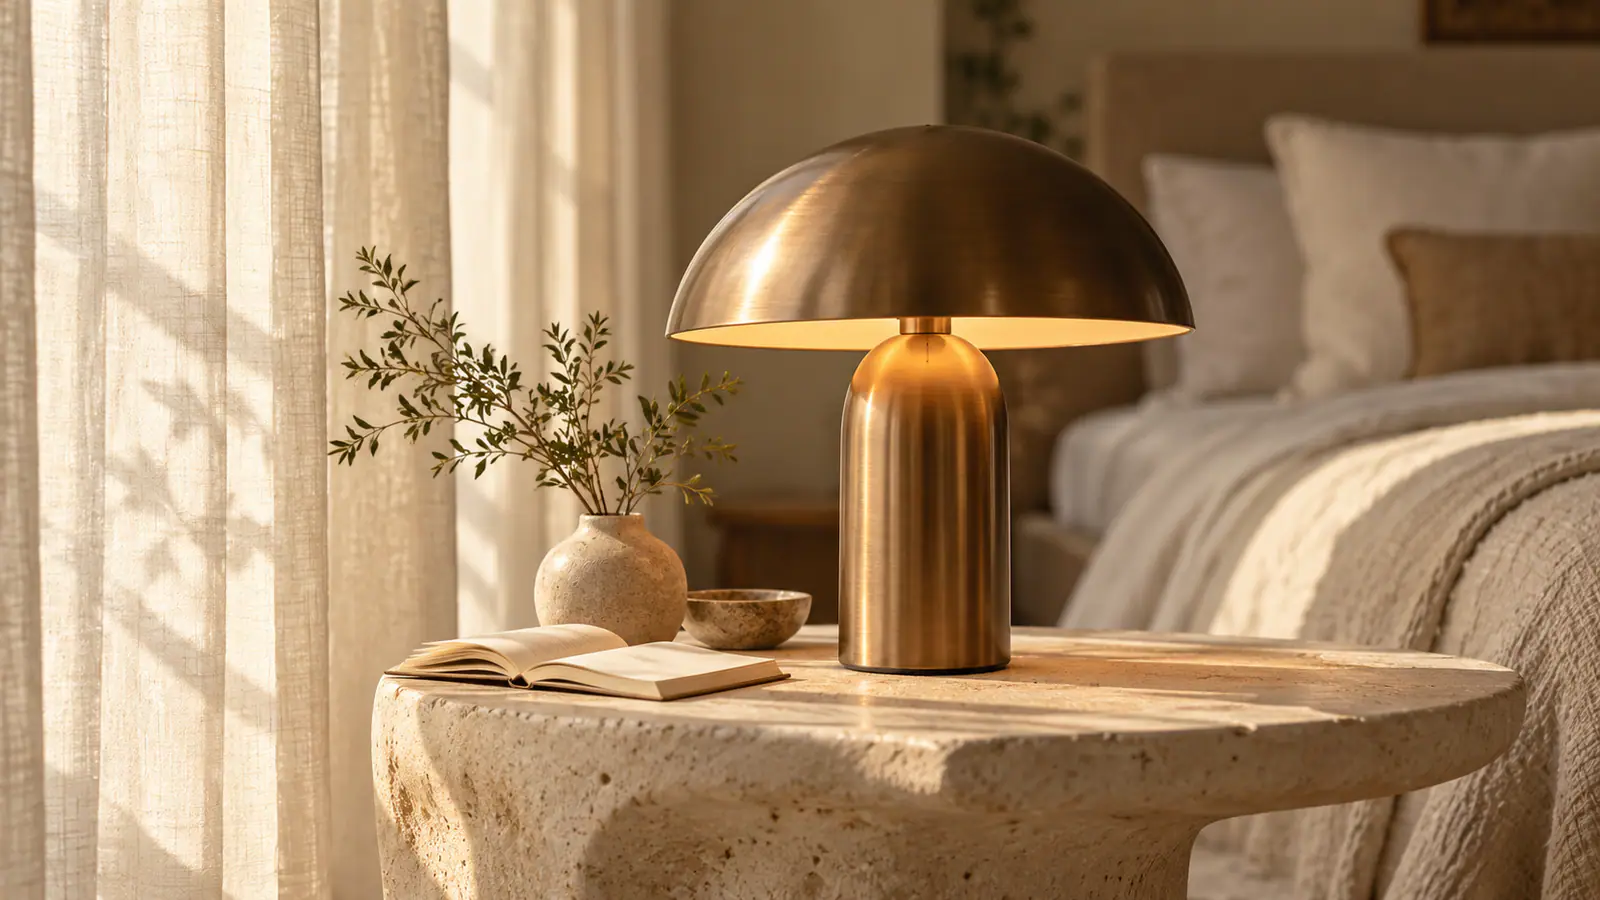
A bronze desk lamp can move from a plain studio setting to a bedside table for a lifestyle campaign. In the brief, describe the table surface, wall color, and time of day, then say to retain the shade, stem, base, and finish. Keep the contact shadow beneath the base in view so you can judge whether the lamp feels grounded on the new surface. If the campaign also needs a plain listing image, keep that as a separate version with the same product view. The lifestyle variation can then focus on where the lamp is used, while the listing version gives customers an uncluttered view of the object.

Draft a New Product Setting
Bronze table lamp in a softly lit bedroom product concept

Describe the atmosphere you want to borrow

Translate a mood reference into a few concrete directions. The courtyard illustration suggests shaded seating, greenery, and soft light against pale walls. For a product photo, pick only the details that suit the placement, such as soft shade and a muted green accent. Keep the product photo as your reference and put the atmosphere into words. To compare with a studio version, keep the viewpoint and product size consistent and change only the setting. That way you can judge whether the new background makes the item easier to understand or competes with its outline and finish.

Draft a Lighting or Mood Brief
Illustration of neighbors reading beside a courtyard bookshelf

Compare a color change with everything else held steady

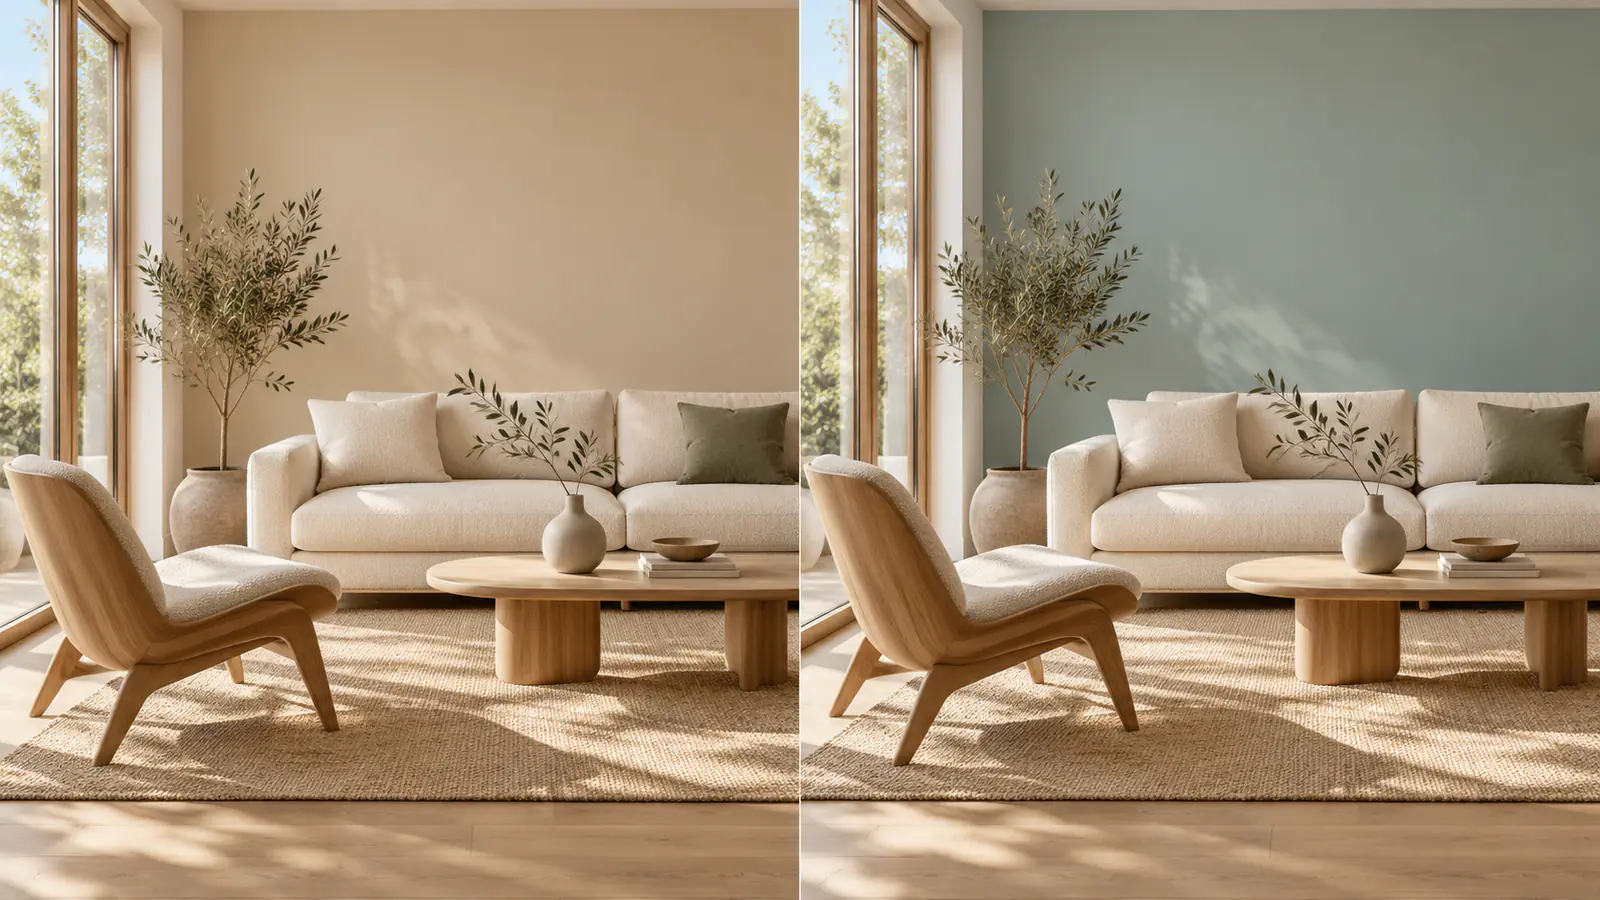
The two room palettes illustrate a useful comparison. Keep the furniture and camera position in the same place while changing the wall color. For a product campaign, use the same method to compare a neutral backdrop with a seasonal color. Name the surface that should change, and include the product color, reflections, and surrounding surfaces in the details to preserve. Compare the variants side by side at the intended crop. If a color makes the product harder to recognize, revise the backdrop brief while retaining the original image as the reference.

Draft a Color Variation
Room color concept showing the same furniture with beige and sage-blue walls

How to Compare Product Photo Variations

Review each proposed version against the same source photo and the placement it needs to serve.

Check the product silhouette

Look at the edges, proportions, and distinctive parts of the product. A different cap shape or handle can make the variation look like a different item. Note those details explicitly if they are central to the product.

Read the label at the final size

Compare spelling, numbers, and label placement with the source photo. Check the image both at full size and in the intended listing or social crop. Fine lettering can look plausible from a distance and still be wrong when enlarged.

Inspect shadows, reflections, and edges

Check whether the new setting gives the product a believable contact shadow and whether highlights agree with the stated light direction. Look at glass, fabric, and reflective packaging where a background change is easiest to spot.

Compare the same crop across versions

Use the intended placement to compare the same crop for each version. Check that the product stays clear at thumbnail size and that there is space for the copy you will add. Record the difference that made one variation more useful for that placement.

Seedream 5.5 Product Photo Editing Questions

Answers for editing product photos with a reference and checking the results.

Name the product, the specific part to edit, and the change you want. Add a short list of what should stay recognizable, such as the silhouette, label, finish, and camera angle. A brief about replacing the background is easier to review when the product details to preserve are explicit.

Use the approved shot with the clearest view of the features the customer needs to recognize. Pick an angle where the shape, materials, and any label you need are visible. Use that same photo when you are comparing several edit ideas.

Plan the Next Version of Your Product Photo

Start with the product shot you trust. Choose one change and write down the details that should carry through to the next version.