
Kling 4.0 Flash Omni Reference: How to Recreate Motion, Swap Characters & Edit Videos
Learn Kling 4.0 Flash Omni Reference with motion-transfer steps, character and product workflows, reusable prompts, and video-input pricing examples.
Kling 4.0 Flash Omni Reference lets you build a video around the characters, products, movement, and settings you choose. Use images to define appearance, a video to guide choreography or camera movement, and editing instructions to change an existing clip.
Start with one decision: are you creating a new shot from a reference, or editing footage you already have? That choice determines the video input role and gives your prompt a clear direction.
This guide walks through Kling's official Flash Omni workflow, explains the input roles, and gives you practical steps and reusable prompts for motion transfer, character replacement, product scenes, and background editing.
What Is Omni Reference in Kling 4.0 Flash?
Omni Reference lets you assign different jobs to different inputs. A portrait can define a character. A product image can define an object's appearance. A video can supply movement or become the footage you want to modify.
The Flash model's official Omni route is /omni-video/kling-4.0-flash. When using the API, select this endpoint to work with the Flash version.
The Flash Omni API specification uses a contents collection containing the prompt and assets, with output controls in settings. Give assets unique IDs and refer to those exact IDs in the prompt.
| Your task | Input role | What the instruction should establish |
|---|---|---|
| Define a person, object, or setting | refer_image |
Which visible details come from that image |
| Recreate movement or a camera path | feature_video |
Which movement to borrow and what appearance to replace |
| Change existing footage | base_video |
What to edit and what should remain stable |
| Animate an opening image | first_frame |
What happens after that opening composition |
Flash outputs 3–20 seconds at 720p. You can combine up to 10 images and up to five video inputs, within a total of 15 assets. Each input video must be 3–20 seconds, and all input videos together can total up to 20 seconds. Video character elements share that video-duration allowance.
For a simple starting setup, use one video, one or two appearance references, and a five-second output. Keep the reference focused on the action or camera move you want to carry into the new shot.
Reference Images vs Reference Videos
A still image defines what a person, object, or scene looks like. A video adds information over time: a dancer's sequence, a fighter's rhythm, or the path of a camera orbit. Choose images for appearance and a video for the movement you want to reference.
The following published Kling 4.0 Flash example combines three reference images for a couple and a clifftop setting. The prompt supplies the interaction and framing, while the images supply the visual references.
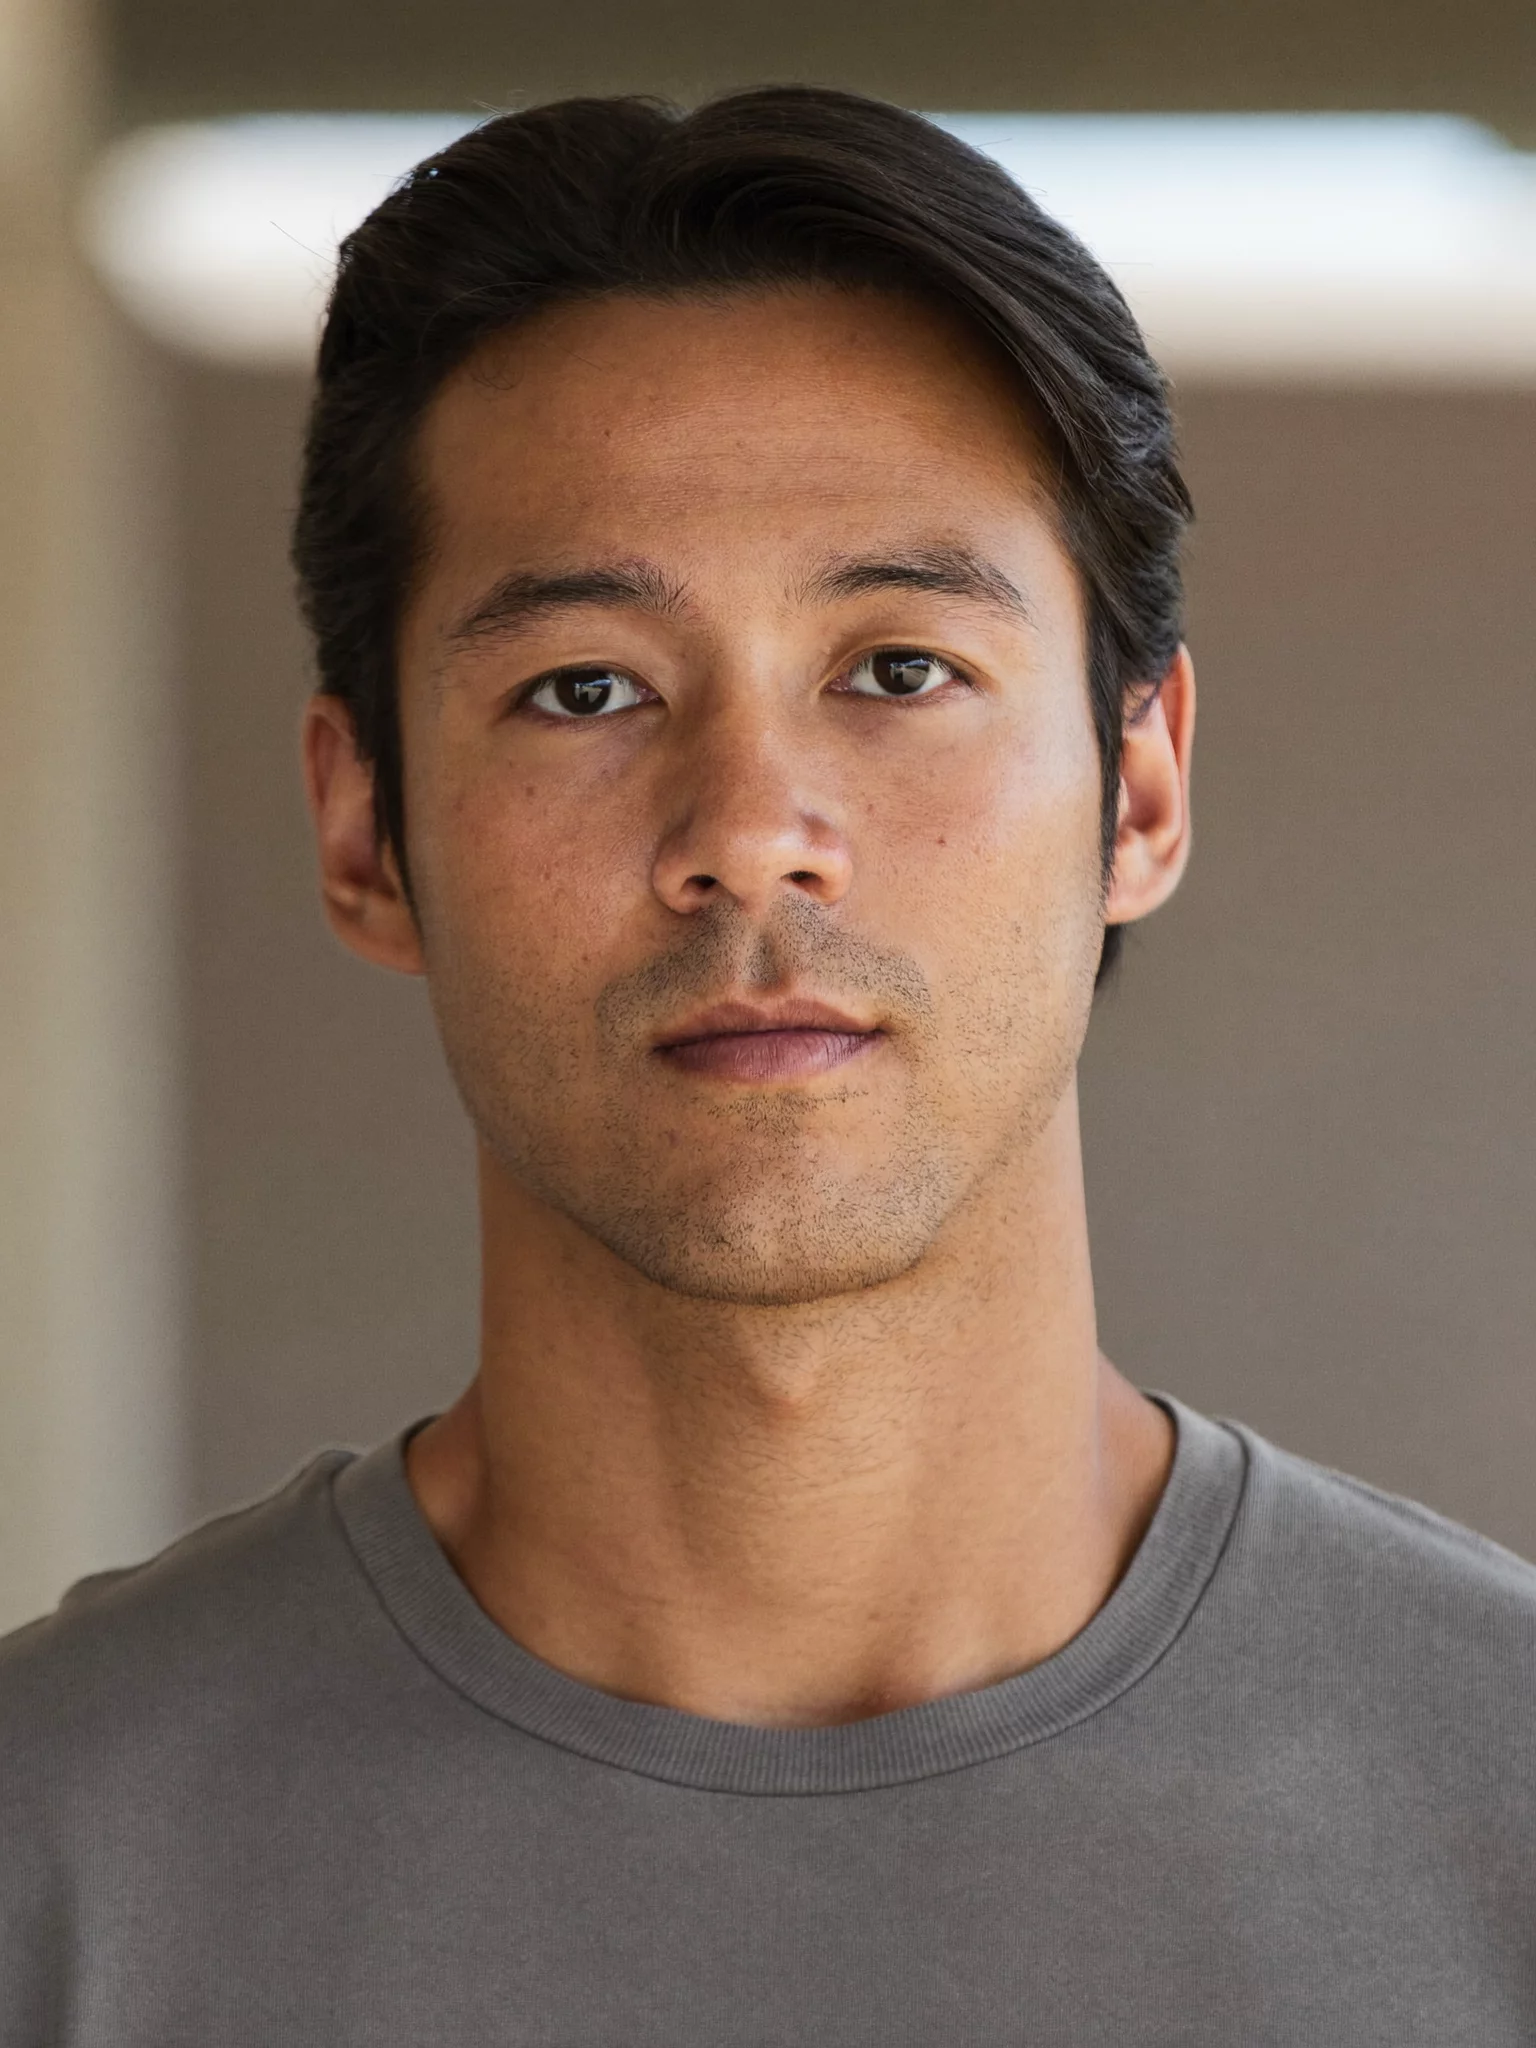
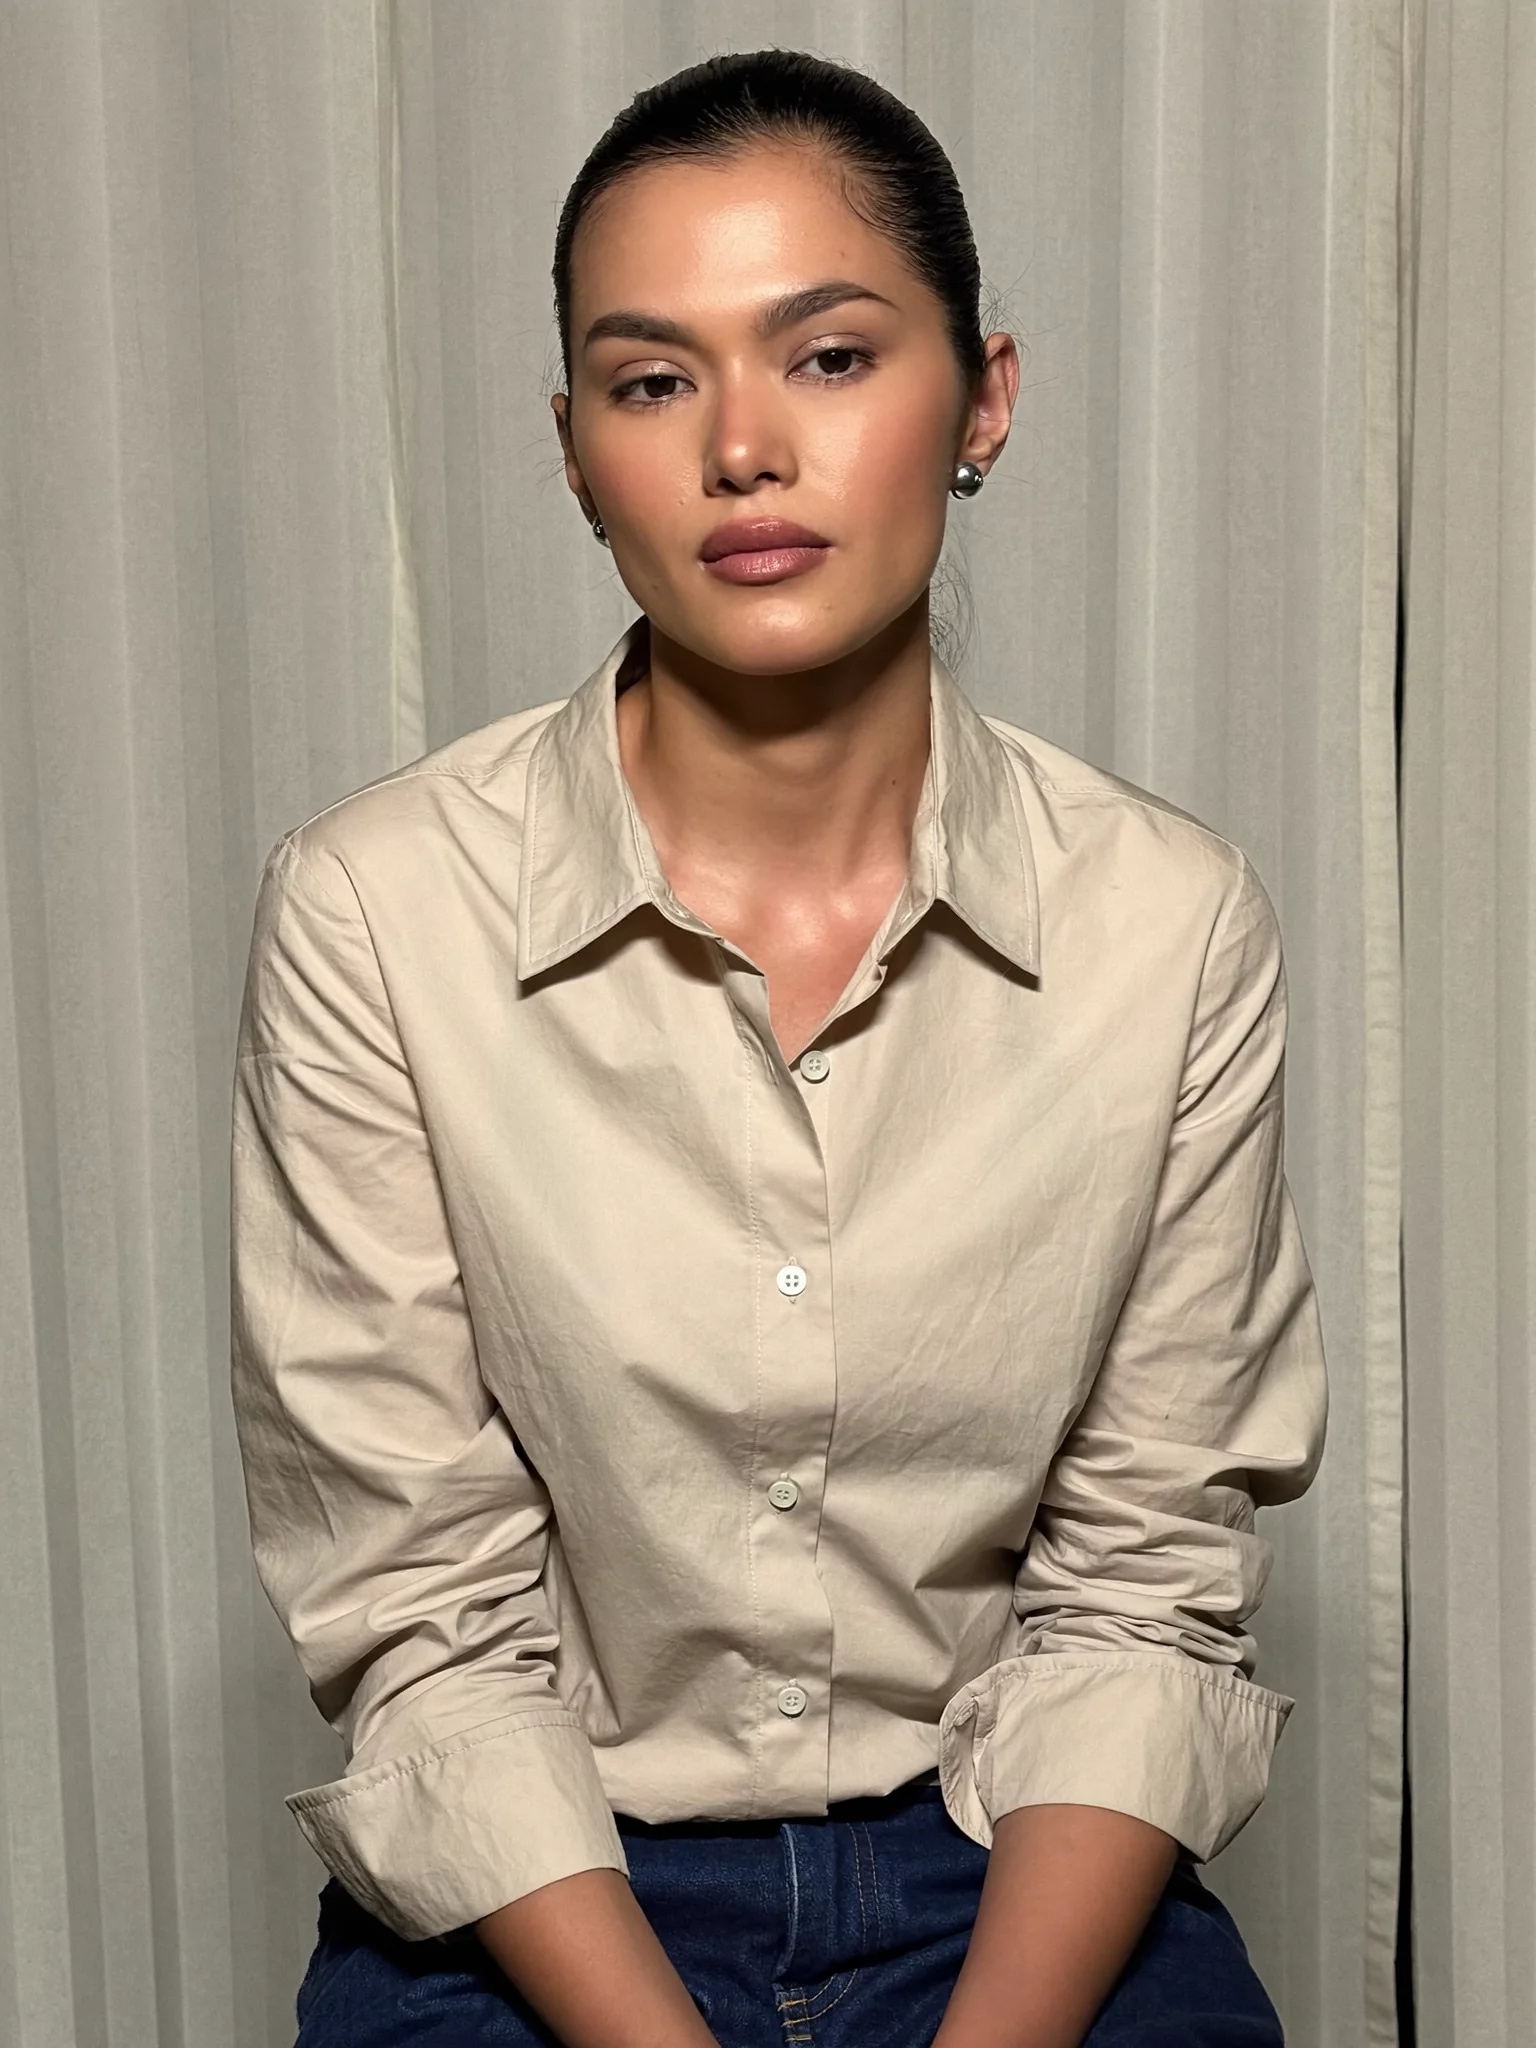
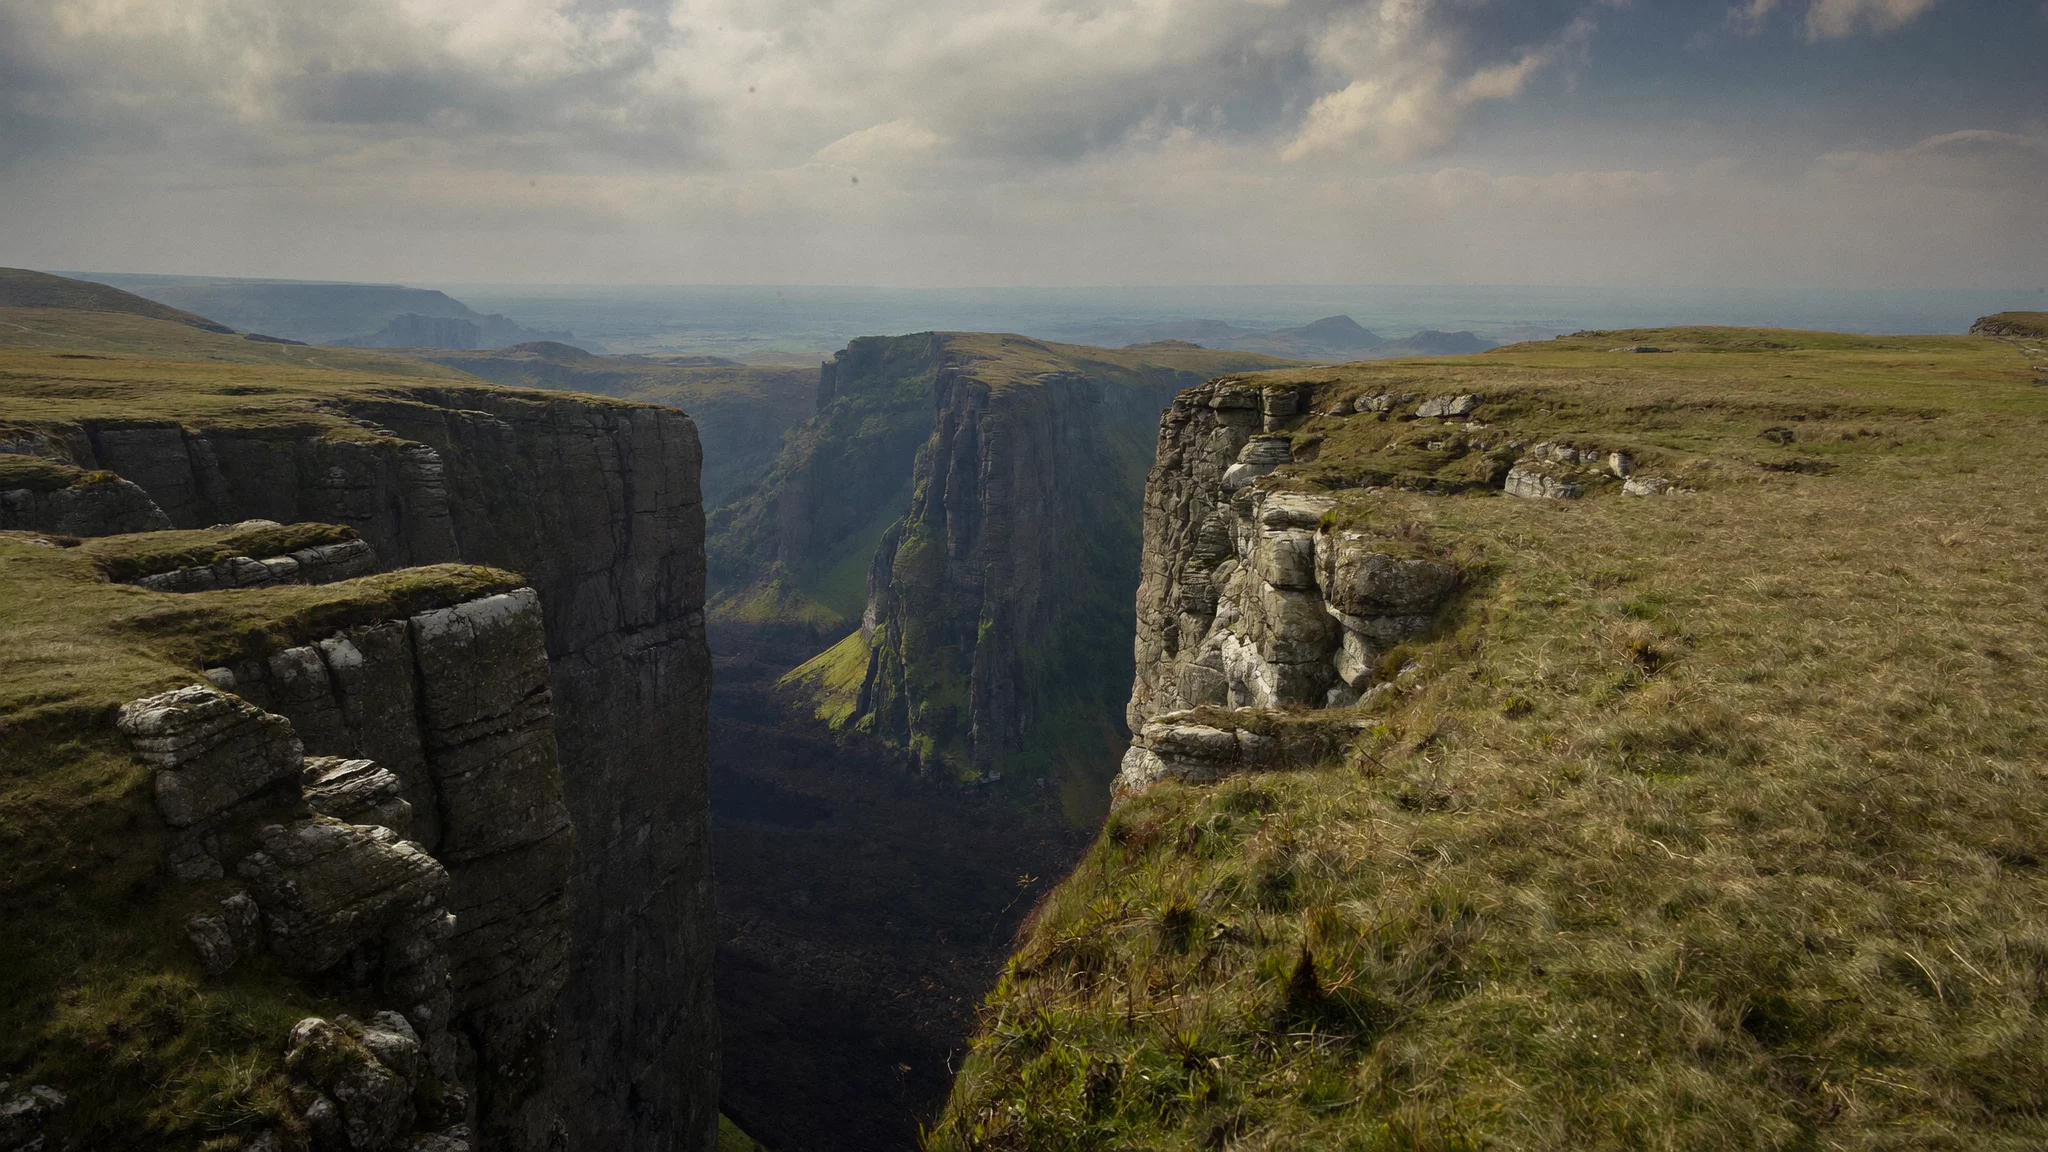
To build a similar image-reference prompt, name each character, assign the setting, and describe what happens between them. For movement based on an existing performance, add that clip as feature_video and give it responsibility for the action.
Prepare assets in the formats accepted by the official Flash Omni API:
| Asset | Format and size | Dimensions and timing |
|---|---|---|
| Reference image | JPEG or PNG, up to 30 MB | Both dimensions at least 300 pixels |
| Input video | MP4 or MOV, up to 300 MB | Both dimensions 700–4553 pixels; up to 8,294,400 pixels per frame; 24–60 fps |
For both asset types, use an aspect ratio between 2:5 and 5:2. Trim video references to the relevant action so each input contributes something specific to the shot.
How to Recreate Motion with Your Own Characters
Start with a short clip in which the action is easy to read. A clean view of one turn or one exchange gives you a more useful comparison than a montage of unrelated shots. Prepare appearance references with clear faces, clothing, and body silhouettes.
- Submit the movement clip as
feature_video. - Submit the character pictures as
refer_imageinputs, each with its own ID. - Assign the clip to movement and the pictures to appearance. State who occupies each position when more than one person is involved.
- Choose an explicit output duration. Matching the reference length gives the action room to follow a similar rhythm.
- Compare the opening pose, the main action, and the recovery. Check identity again during turns and occlusions.
Describe movement and appearance in separate sentences. For example: "Use the video for the turn, arm movement, and ending pose. Use the image for the character's face, hairstyle, and red jacket." This makes the role of each reference easy to follow.
Camera transfer follows the same logic. Assign the reference video to camera travel and pacing, then define the new subject and scene separately. If you want to retain the original people and footage while changing one detail, switch to an editing brief instead.
How to Replace Products and Backgrounds
There are two useful production routes here.
For a new product scene with familiar camera movement, use the original clip as feature_video and provide an image of the replacement product. Name the details that matter to the job: the bottle's cap, a car's silhouette, a package's lettering. Add a separate setting reference if needed.
For a product replacement inside existing footage, submit the original clip as base_video. Begin the prompt with an explicit editing instruction. Identify the object being replaced and describe which surroundings, people, camera movement, and timing should remain. Inspect hand contact, reflections, shadows, and any interval where the object is partly hidden.
For background editing, define the foreground first: who stays in the clip, what they are wearing, and which actions continue. Then describe the replacement environment, its lighting, and the shadows that connect the people to the new setting.
Choose the soundtrack alongside the visuals. In the official Omni schema, set settings.audio to native for generated audio or original to use the base video's soundtrack. With no base video, original uses the first feature video's audio.
Three Video Reference Workflows with Prompt Templates
These workflows cover character motion, product scenes, and environment edits. The paired demonstrations come from Kling's official full 4.0 user guide. Each workflow is followed by a reusable prompt template for setting up your own Flash request.
1. Recreate a Fight with Different Characters
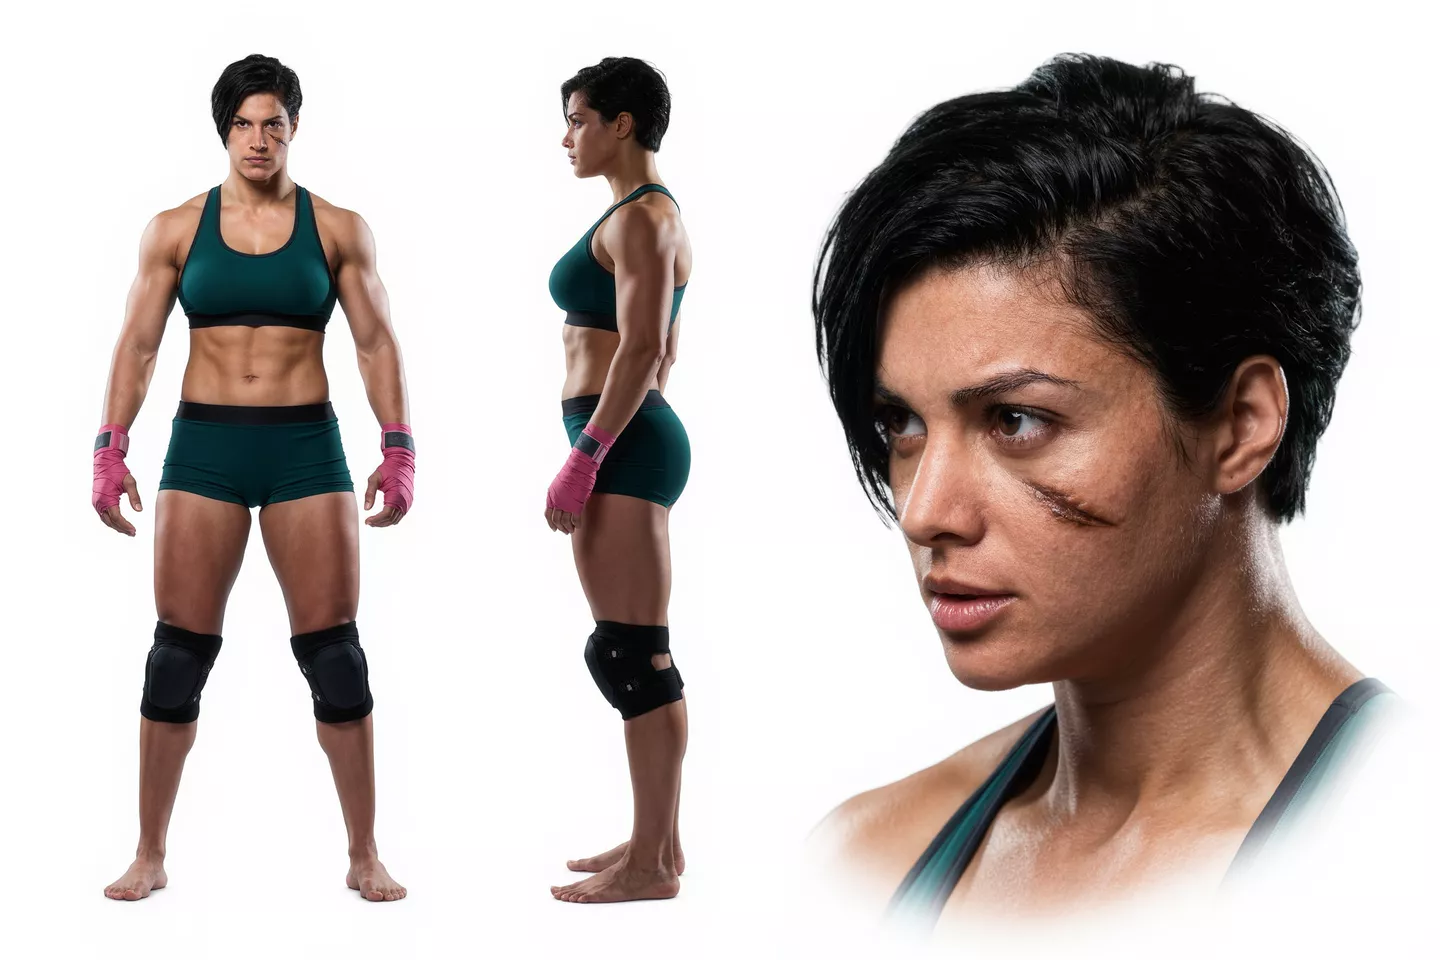
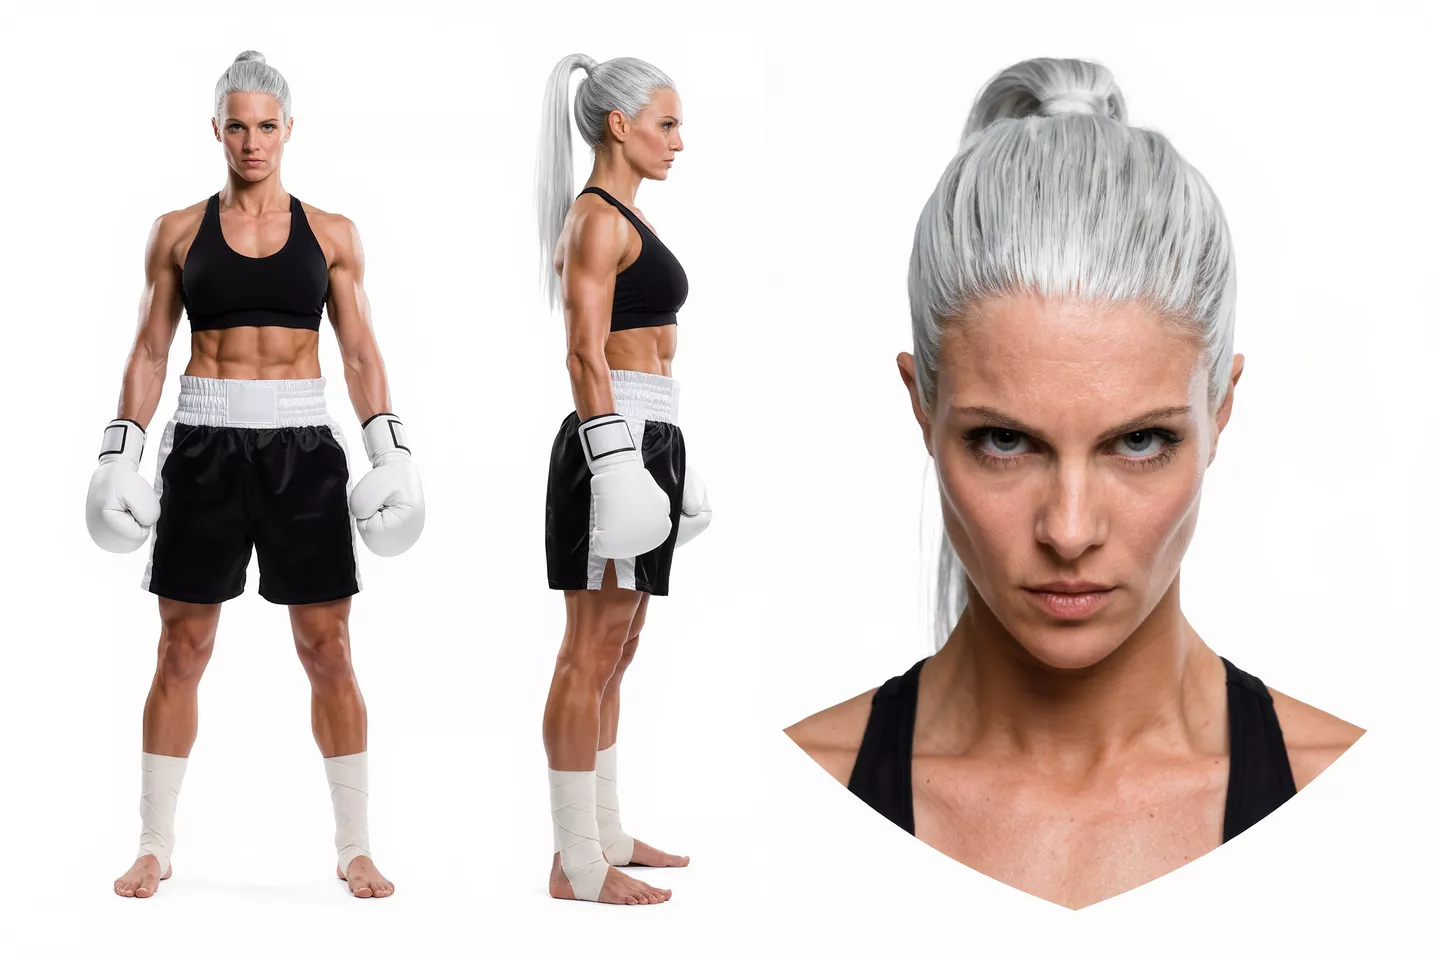
This official full 4.0 example pairs a fight video with two character images. The video supplies choreography and attack timing; the pictures define the characters. Use this division of responsibilities when planning an action scene with your own cast.
Original movement reference:
Character appearance references:
Published full 4.0 result:
For your Flash setup, register the clip as feature_video with ID video_1, then add the character pictures as refer_image with IDs image_1 and image_2.
Prompt template:
Use @video_1 only for the order, direction, and rhythm of the two fighters' movements. @image_1 defines the dark-haired fighter and @image_2 defines the light-haired fighter. Preserve each image character's face, hair, clothing, and gloves throughout the shot. Recreate the reference exchange with those two characters on a wooden training platform in daylight. Keep their left-to-right positions consistent. Show each strike, block, recoil, and recovery as a connected movement. Use one continuous medium-wide view that keeps both bodies visible. End on the pose reached at the end of the reference clip. Natural training-room ambience, no background music, no subtitles.
Review the sequence in three parts: opening stance, main exchange, and recovery. Follow each character through the turn and contact, checking the face, gloves, clothing, and left-to-right position. If the action feels rushed, shorten the reference to one clear exchange and give that exchange the full output duration.
2. Recreate a Product Shot in a New Setting
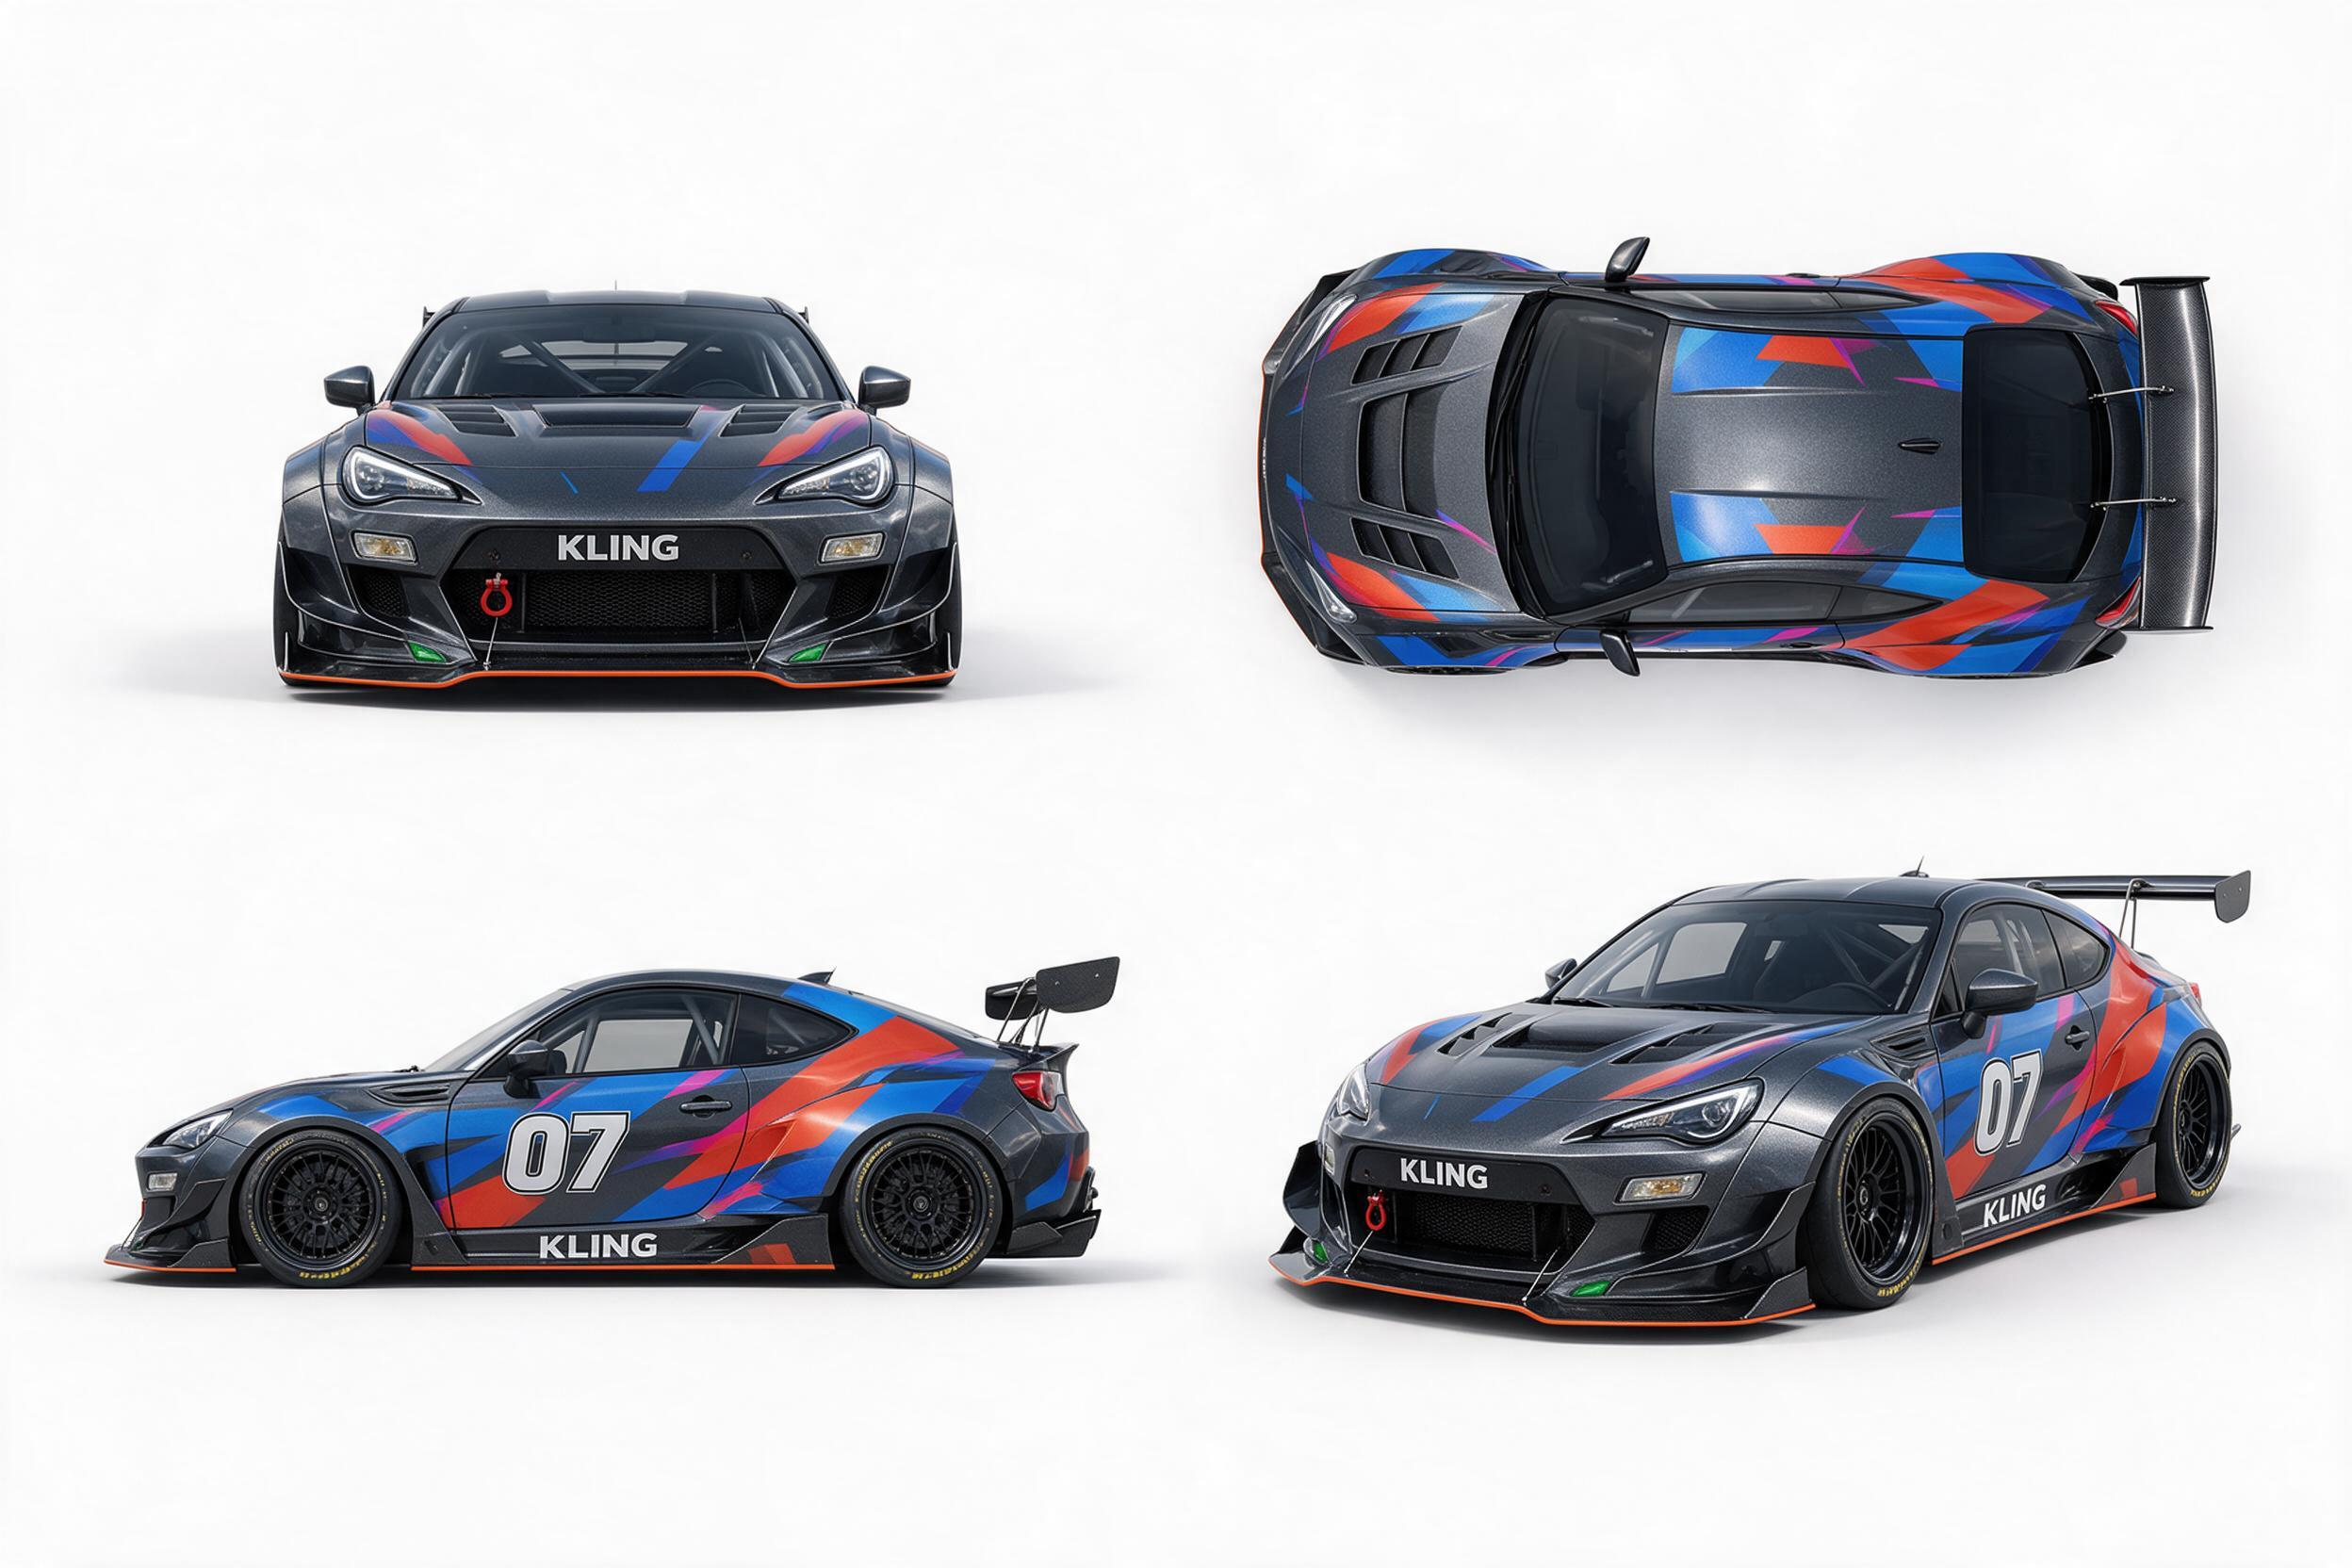
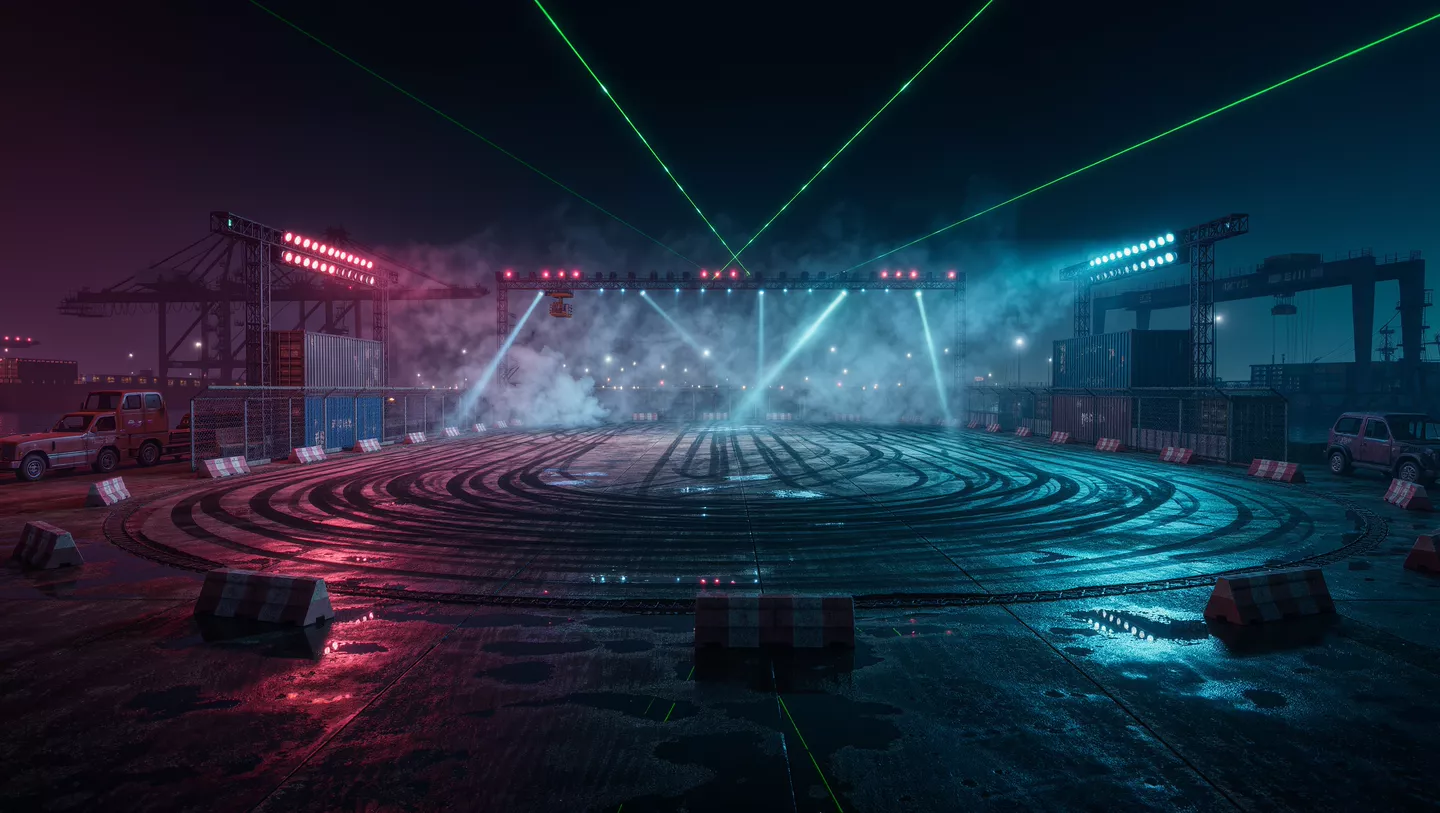
This official full 4.0 example pairs a camera-motion reference with a car image and a setting image. It illustrates how to organize a new product scene around an existing camera move: the clip sets the camera path, the car image sets the subject, and the location image sets the environment.
Original camera reference:
Replacement subject and setting:
Published full 4.0 result:
For your Flash setup, use the video as feature_video and both pictures as refer_image.
Prompt template:
Reference @video_1 for its camera travel and pacing only. @image_1 defines the replacement car: retain its body shape, paint, wheels, windows, and visible markings. @image_2 defines the neon arena and its lighting. Create a new shot of that car in that arena, following the reference camera move. Keep the car's proportions and surface details consistent as its viewing angle changes. Let the arena lighting create reflections on the car. Finish at the reference camera's ending angle, keeping the car clearly defined. Natural vehicle and room ambience, no background music, no subtitles.
Follow the camera's direction, acceleration, and ending angle. Then review the car's wheels, proportions, paint, windows, and markings as the view changes. For a bottle or package scene, apply the same structure with a clear product image and name the label, cap, material, and shape you want represented.
When the job is to replace a product inside the original footage, use base_video instead. Start the prompt with "Edit @video_1," identify the replacement product, and specify the surroundings and camera movement to preserve.
3. Edit a Scene or Replace Its Background
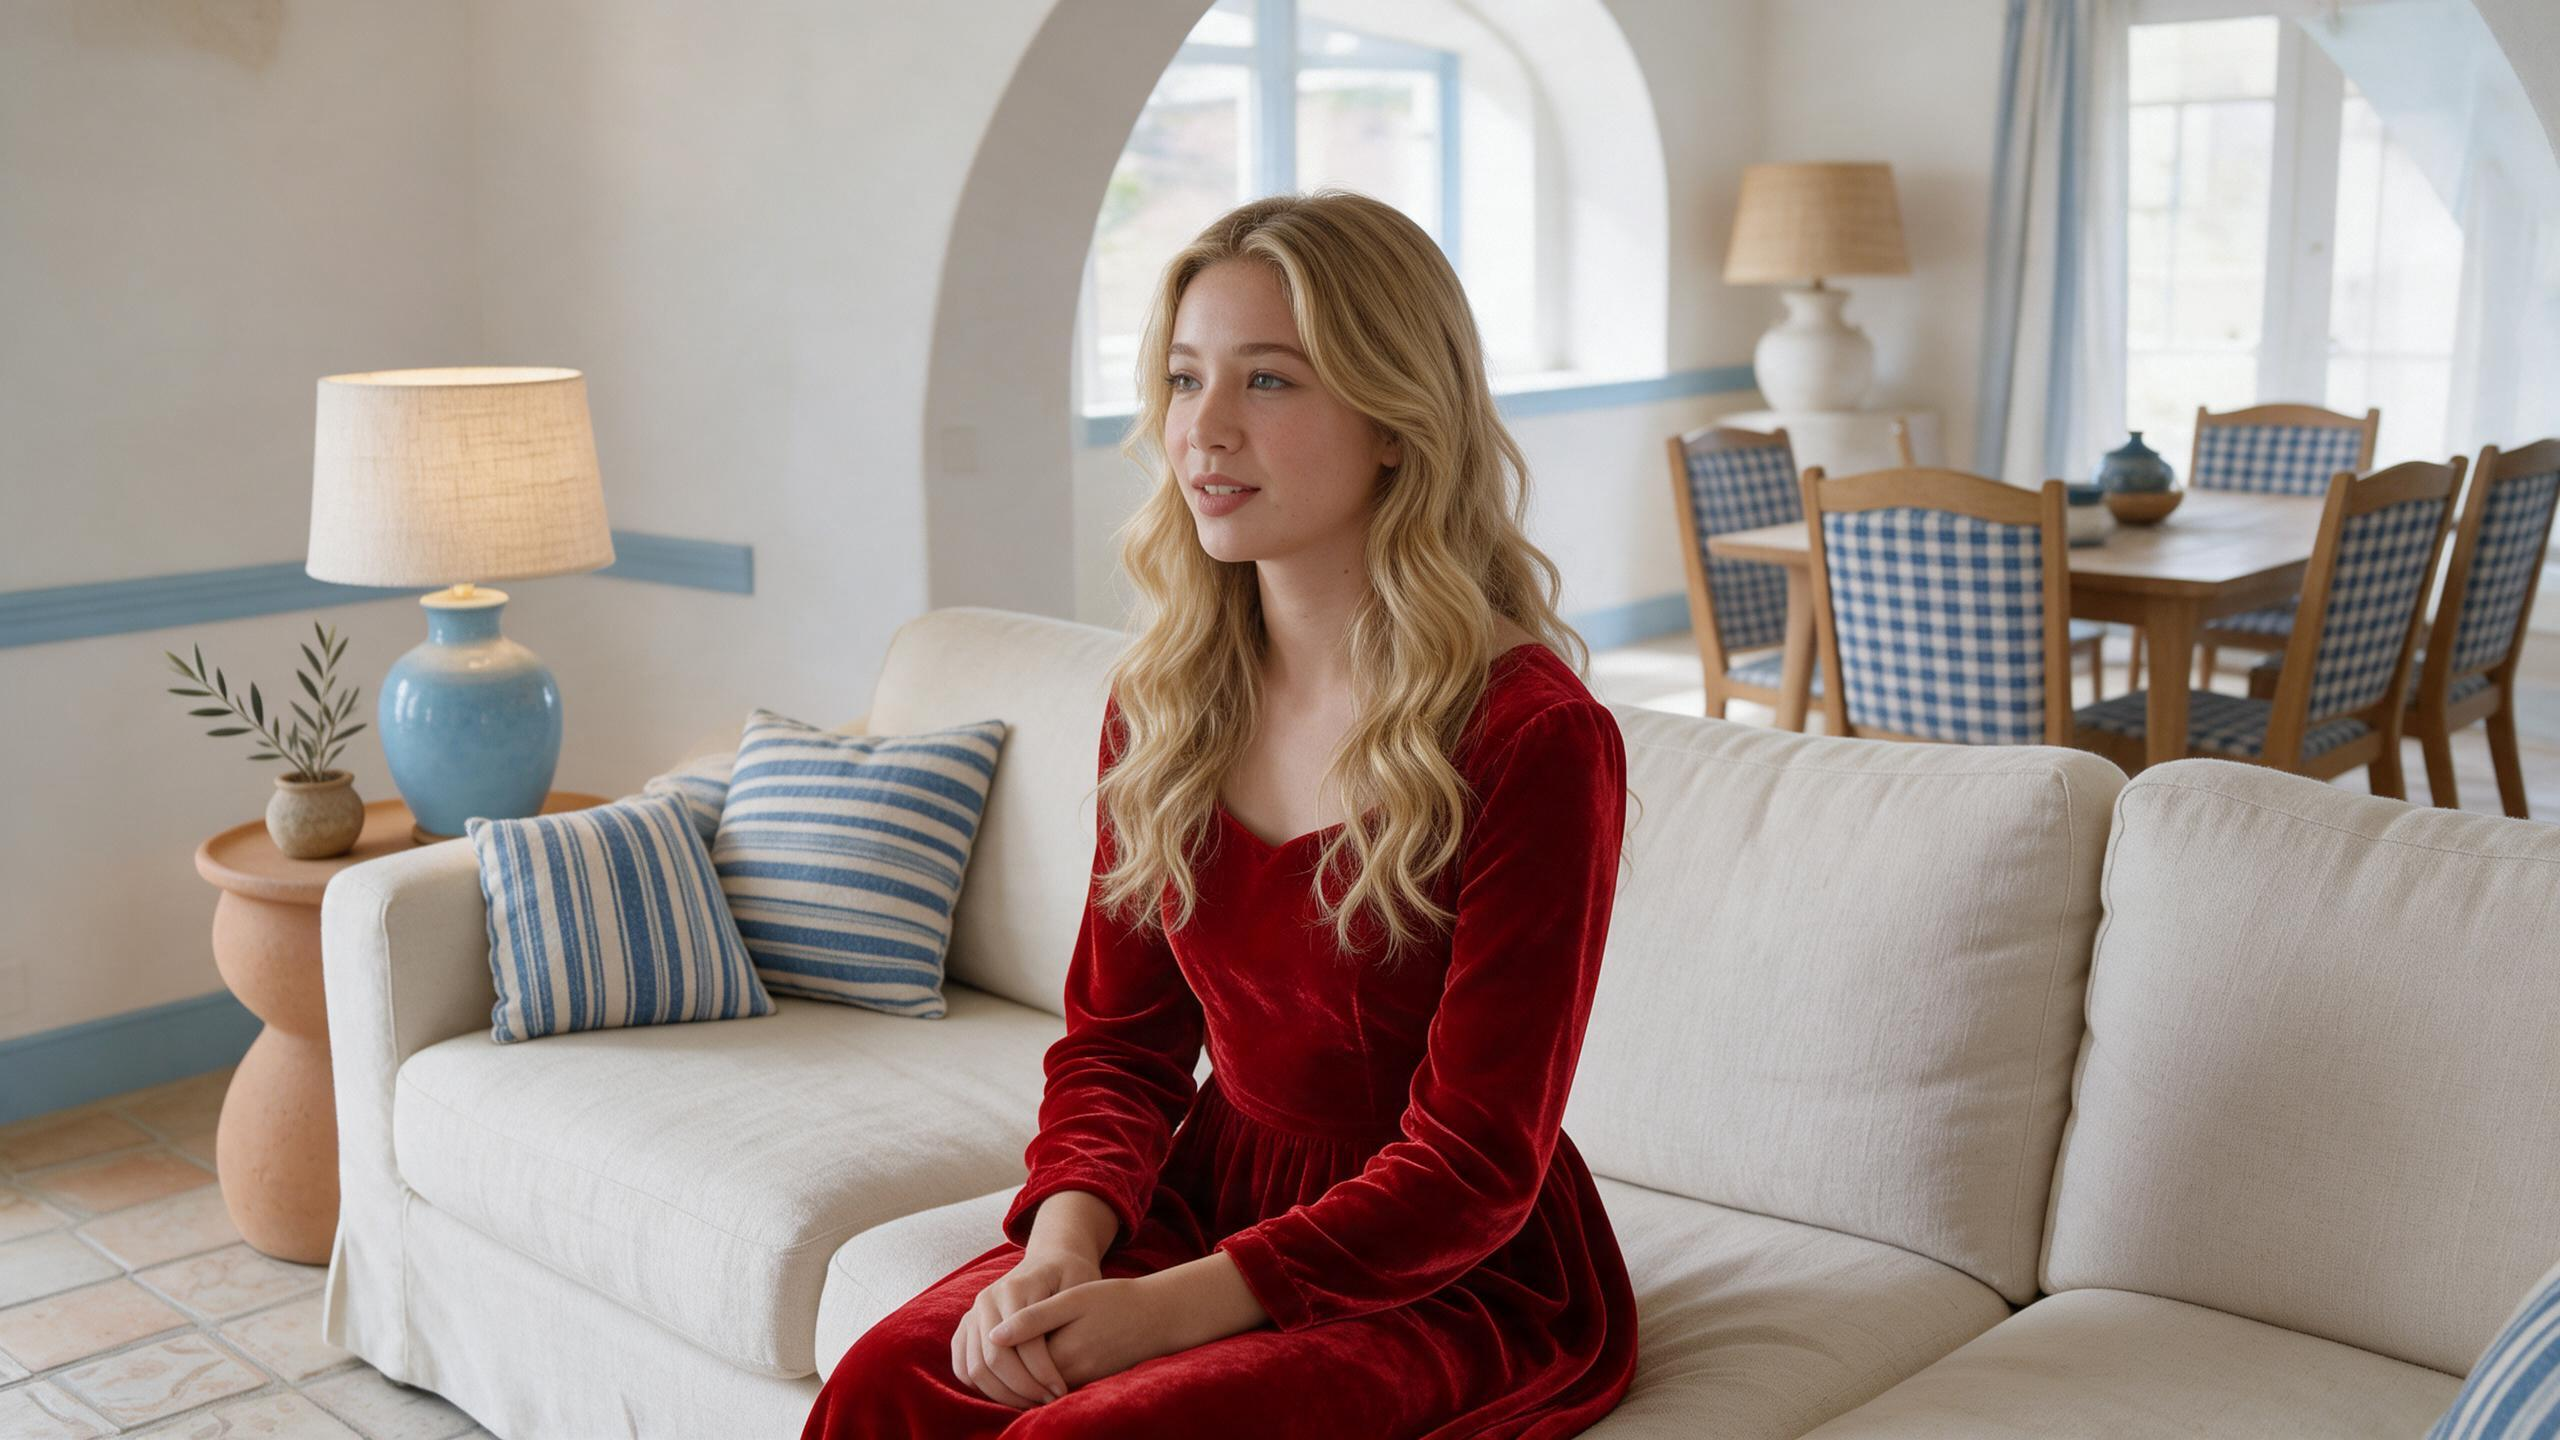
This official full 4.0 example uses an image to redesign both the environment and the characters in an existing clip. The same planning pattern starts with the source footage and a clearly defined visual reference. For a background-only edit, make the environment the requested change and explicitly retain the people and their performance.
Original footage:
Replacement appearance reference:
Published full 4.0 result:
For a Flash background-only setup, submit the original clip as base_video and use a background image as refer_image.
Prompt template:
Edit @video_1. Change only the surrounding environment to the location shown in @image_1. Use @image_1 for architecture, background surfaces, and lighting atmosphere; the foreground people and their clothing come entirely from @video_1. Preserve their faces, body proportions, positions, actions, order of appearance, and timing. Preserve the original camera path, framing, and shot boundaries. Rebuild the background behind moving bodies and along hair and clothing edges with continuous geometry. Keep the foreground subjects visually grounded with matching contact shadows. Preserve the original soundtrack. No subtitles.
A background-only reference makes this brief easier to communicate. Pick an image with a readable layout and lighting direction. In the prompt, assign architecture, surfaces, and atmosphere to that image, then assign people, clothing, and movement to the source video.
Review the places where the foreground meets the new environment: hair, hands, moving clothing, and contact shadows. If the edit changes more than intended, narrow the instruction to one environmental change and state which foreground details should stay the same.
How Much Does Kling 4.0 Flash Video Reference Cost?
Kling's official API pricing table lists the following Flash rates at 720p, checked on November 6, 2026. Let O be billed output seconds and I be the combined billed input-video seconds, including reference clips, the video being edited, and video character elements.
| Input | Official API charge |
|---|---|
| No video input | 0.6 × O Units |
Video input, with I ≤ O |
0.4 × (2 × O) Units |
Video input, with I > O |
0.4 × (I + O) Units |
With video input, this is 0.4 × (O + max(I, O)). The output and the input-duration allowance both contribute. Images alone do not trigger the video-input formula.
Here is how the formula applies to common clip lengths:
| Input video | Output video | Official API usage |
|---|---|---|
| Images only | 5 seconds | 3 Units |
| 5 seconds | 5 seconds | 4 Units |
| 15 seconds | 5 seconds | 8 Units |
| 10 seconds | 10 seconds | 8 Units |
Trim reference clips to the useful action to keep both the instruction and input duration focused. Kling prices its official API in Units; VidFomo displays a separate credit quote for the model and settings selected in its Studio.
Best Prompts for Reference-Based Video Generation
A useful reference prompt answers five questions in order:
- What is the task? Create a new shot, transfer movement, or edit the source video.
- What does each asset control? Assign appearance to images, movement to a feature video, and the footage to a base video.
- What should change? Name the new character, product, location, or action.
- What should stay consistent? Specify identity, clothing, product shape, camera path, and timing as needed.
- How should the shot finish? Describe the ending pose or framing, then choose generated or original audio.
Use concrete directions such as "follow the clockwise camera orbit," "keep the blue jacket," or "finish on the front label." They give the model more specific instructions than a broad request to "make it cinematic."
If you want a different result, revise the part of the prompt responsible for that detail. Clarify the action sequence for movement, the image assignment for appearance, or the requested change for an edit. Keep the rest of the brief steady while you refine that part.
Frequently Asked Questions
Does Kling 4.0 Flash Support Video Editing?
Yes. Kling's official Flash Omni API accepts base_video for editing existing footage and feature_video for referencing movement. Choose the input role that matches the job, then describe the changes and details to retain.
What Is the Difference Between feature_video and base_video?
Use feature_video when creating a new shot guided by a reference's action or camera movement. Use base_video when the original footage is the starting point for an edit. A character recreation and an edit to an existing performance therefore begin with different video roles.
What Resolution and Duration Does Flash Use?
Flash generates 720p video from 3 to 20 seconds. Its official Omni API accepts up to 10 images and five video inputs, within 15 total assets and a combined input-video duration of up to 20 seconds. See the Kling model manual for the version comparison.
How Do I Keep the Original Soundtrack?
Set settings.audio to original. The API takes audio from the base video, or from the first feature video when no base video is supplied. Use native when you want generated audio for the new scene.
Create Your Next Video with VidFomo
Ready to turn a scene idea into a new clip? Open VidFomo's video Studio, describe the action or upload an opening image, and choose an available model. Adjust the output settings, review the credit quote, and generate your product shot or character scene.
Start with one subject and one clear action. Use the prompt structure above to define the appearance, camera movement, and ending frame, then refine the details that matter to your video.